
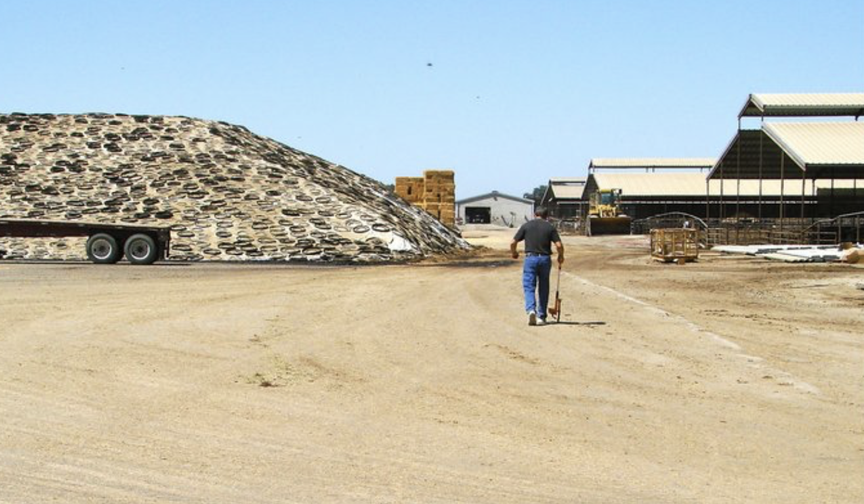
Going through the steps of harvest may seem elementary, especially if you’ve made silage for many years. But every harvest presents different challenges. Time spent thinking through harvest is never wasted.
What are your realistic goals for silage harvest? And how will you meet them? The big picture is that we want more feed and less waste, especially when forage prices are so incredibly high. We want better nutrition, getting every penny of nutrient value out of those forages. We want to get through harvest with no accidents and create a safe environment for ourselves, our families, and everyone who works or lives on the farm or feedlot.
1. We start with some math (my worst, Ron’s best). Skip this step if you’ve got this part figured out, or call Ron to get more ideas on how to get more into the pile or bunker than ever before. According to the University of Wisconsin, Madison:
-
Determine the number of pounds of silage that will be fed from the pile each day. For example, assume 3,000 lbs.
-
Divide the weight fed by 40 lbs/ft3. In our example, 3,000 lbs divided by 40 lbs/ft3 = 75 ft3. This is the volume of silage removed from the pile each day.
-
Establish a daily removal rate from the face of the pile. Use 6 inches (0.5 ft) for our example.
-
Divide the volume removed (Step 2) by the removal rate (Step 3). This is the cross section of the pile
(Volume/day) ÷ (Daily Removal Rate) = Area (sq ft)
(75 ft3/day) ÷ 0.5 ft/day = 150 sq ft -
Assume an average pile depth. The actual peak height will be more than the average depth due to pile rounding. For our example, we will use 5 ft.
-
Divide the cross section (Step 4) by the average depth (Step 5) to obtain the average width:
150 sq ft ÷ 5 ft = 30 ft
2. Once you’ve figured out a pile size (a bunker may be predetermined for you), figure out where it can be conveniently located, and don’t overlook areas that can be cleaned up and leveled for a feed pad. If you do convert an area, make sure it’s free of any metal. Prepare the pad doing what you can to minimize dirt and mud getting into the feed. Skip this step if what you had previously works for you.
3. Set Dry Matter (DM) goals – or if you’re east of the Mississippi, moisture content levels. Too dry and it’s hard to get a good pack, leaving oxygen which encourages rot. Too wet and there’s a good chance of poor fermentation and a certainty of run off.
Alfalfa and small grains 35 – 45% DM. Milk cows – boot stage. Dry cows – soft dough stage.
Corn silage 32 – 36 % DM
4. Set Chop Length goals. Too long and it’s harder to pack. Too short ruins fiber digestibility.
Alfalfa and small grains 1/2 inch to 3/4 inch
Corn silage 3/4 inch
5. Kernel Processing goals for corn silage. You paid for the grain; be sure it’s cracked open or broken in two. Starch is corn’s superpower; make sure it’s readily available to the rumen.
Alert! Connor Agriscience has done the work. See our Learning Center at Connor Agriscience for your very own data sheets to keep track of DM, Chop Length, and Kernel Processing. More about these sheets next time.
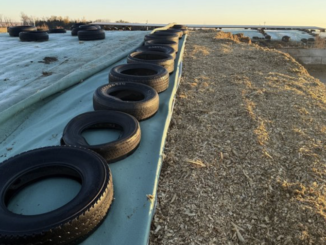
Sealing is the last consideration, and after all the planting, fertilizing, irrigating, nurturing, and Sunday drive checking, don’t skimp. A top-tier oxygen barrier (like one of the Sealpro® films) will pay you back and then some every time. We’ve got a new method of covering that saves labor, doesn’t use tires, and is 10-year reusable! Used with an oxygen barrier, it won’t tear when critters (big or small) crawl on it. Choose wisely and order ahead.
So we’ve done the math, researched and gotten recommendations, and ordered up some essential tools. Next, we’ll talk about the people part of the harvest. Stay tuned.
If you still need Sealpro Silage Barrier Film for this year’s silage or wet corn harvest, call Ron Kuber at 559-779-5961. Many sizes are still available—they can be picked up or shipped immediately. If you’re ready to revolutionize covering (tired of tires?), look up Flortex on our product page, then give Ron a call.

Be the first to comment